Tapes might seem a bit old-school, but they’ve been a go-to for backing up and archiving data for ages. Even though we’ve got flash drives and cloud storage now, tapes are still hanging around, especially when you need to keep data safe for a long time.
Specifically in my case right now, I need to handle QIC tapes so I can load OS and upgrades to the CISC and RISC based IBM machines I’m refurbishing/restoring. Managing backups for these old systems will be a regular task too, and since some of them can only use diskettes or tapes (see the 9406 D35), I’m constrained to use tapes.
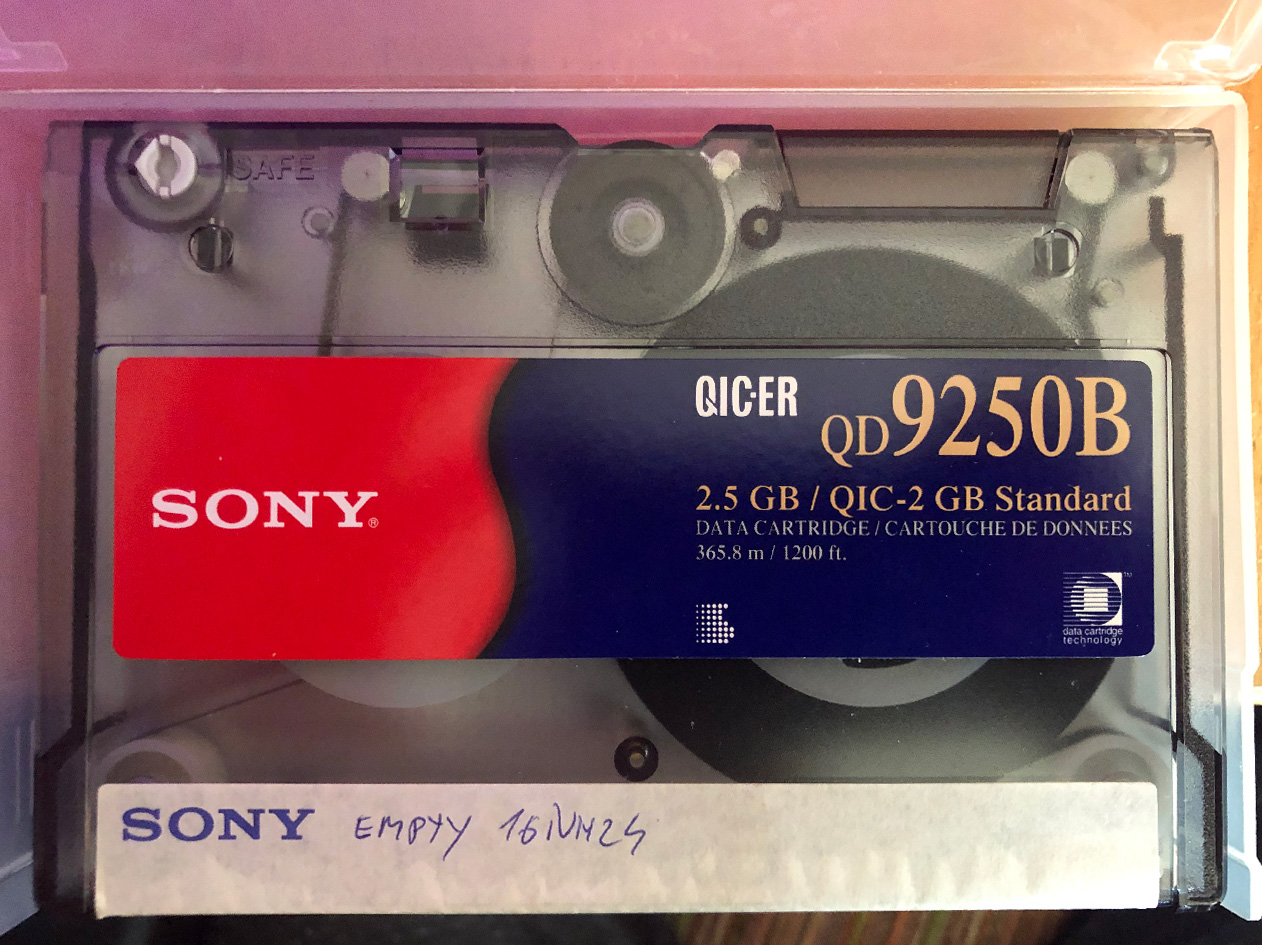
Not that tapes are a bad medium, but some deigns are not as good as others – for example, the QIC tapes which are using a tensioning band to hold the reels and tape tight, is a poor design exposed to lots of failures, but let’s get back to this article’s subject.
If you’re on Linux, you’ve got some solid tools to handle tape drives, like wiping them clean, writing data, and controlling them. In this guide, I will dive into some handy Linux tape commands, focusing on the dd and mt commands to show you how to manage your tapes.
Identifying the Tape Device
Before performing any operations on a tape, you need to make sure the tape drive is properly detected in your system by identifying it. Tape devices on Linux are usually represented as /dev/stX, where X is a number (/dev/st0 for the first tape device).
To list the available tape devices, you can use the ls command:
ls /dev/nst* /dev/st*
If you’re unsure which device corresponds to your tape drive, use the dmesg command to display detailed system messages after connecting the tape drive:
dmesg | grep -i tape
Erasing a Tape Using the dd Command
One common requirement when working with tapes is to erase them. The dd command is a powerful tool for copying and converting data, and it can be used to overwrite a tape with zeros, effectively (and securely) erasing it.
To erase a QIC tape under Ubuntu (or any other distro having dd) using dd, follow these steps:
- Identify the Tape Device (as outlined above).
- Use the
ddCommand to Erase the Tape:sudo dd if=/dev/zero of=/dev/nst0 bs=512
Here’s a breakdown of this command:if=/dev/zero: The input file is a stream of zeros.of=/dev/nst0: The output file is the tape device. Replace/dev/nst0with your tape device.bs=512: The block size is set to 512 bytes. Adjust the block size according to your tape drive’s specifications.
To monitor the progress of the
ddcommand, add thestatus=progressoption:sudo dd if=/dev/zero of=/dev/nst0 bs=512 status=progress
Note: Writing zeros to the entire tape can take a significant amount of time, especially if the tape has a large capacity.
Faster Tape Erase Methods Using the mt Command
If you need to erase a tape more quickly, the mt (magnetic tape control) command offers faster alternatives that do not require writing zeros over the entire tape.
Method 1: Using mt to Erase the Tape
The mt command provides an erase option that instructs the tape drive to perform a fast erase. This method is much quicker than using dd because it usually involves the drive marking the tape as erased rather than rewriting all the data.
sudo mt -f /dev/nst0 erase
Replace /dev/nst0 with your actual tape device. This command should complete in a few minutes.
Method 2: Using mt to Write an End-of-File (EOF) Mark
Another quick method to prepare a tape for reuse is to write an end-of-file mark at the beginning of the tape using the weof (write end of file) command. This does not erase the entire tape but effectively marks the tape as having no valid data beyond this point, making it ready for new data.
sudo mt -f /dev/nst0 weof 1
This operation is almost instantaneous and is useful if you plan to write new data to the tape immediately.
Backing Up and Restoring Data Using tar
The tar command is versatile and can be used to archive and compress data directly onto tape drives. Here’s how to back up and restore data using tar:
Backing Up Directories to Tape
To back up the /www and /home directories and compress them using tar:
sudo tar -czf /dev/st0 /www /home
-c: Create a new archive.-z: Compress the archive using gzip.-f: Specifies the archive file or device, in this case, the tape device/dev/st0.
Listing Files on the Tape
To display a list of files stored on the tape:
sudo tar -tzf /dev/st0
-t: List the contents of the archive.-z: Indicates the archive is compressed with gzip.-f: Specifies the archive file or device.
Restoring Data from Tape
To restore the /www directory from the tape, perform the following steps:
- Change to the Root Directory:
cd
- Rewind the Tape:
sudo mt -f /dev/st0 rewind
- Extract the Directory:
sudo tar -xzf /dev/st0 www
-x: Extract files from the archive.-z: The archive is compressed with gzip.-f: Specifies the archive file or device.
Managing Tape Position and Status with mt
The mt command also provides options to navigate and manage the position of the tape, as well as to display status information.
Displaying Tape Status
To check the current status of the tape drive, including its position and other details:
sudo mt -f /dev/st0 status
Navigating the Tape
You can move forward or backward on the tape using the mt command:
- Go to the End of Data:
sudo mt -f /dev/nst0 eod
- Move Backward to the Previous Record:
sudo mt -f /dev/nst0 bsfm 1
- Move Forward to the Next Record:
sudo mt -f /dev/nst0 fsf 1
Additional Tape Management Commands
In addition to erasing tapes, the mt command can perform various other tape management tasks:
- Rewind the Tape: It’s often necessary to rewind the tape to its beginning before or after operations. Use the following command:
sudo mt -f /dev/nst0 rewind
- Unloading the Tape: When you’re finished with the tape, you might want to unload it from the drive. Use the following command to eject or unload the tape:
sudo mt -f /dev/st0 offline
This command rewinds the tape and then unloads it from the drive (for certain tape drive models, the tape can only be ejected manually), making it safe to remove.
Conclusion
Managing tapes under Linux involves understanding how to use a few key commands. Whether you are erasing, writing, or controlling tape drives, mastering these commands will help you effectively manage tape-based storage. Always ensure you correctly identify the tape device and use the appropriate commands to avoid data loss or damage to the device.